

Après plusieurs essais avec une seule sonde, ça a marché super bien. Je commande immédiatement une deuxième sonde pour essayer de mesurer la température intérieure et extérieure.... à suivre et MERCI
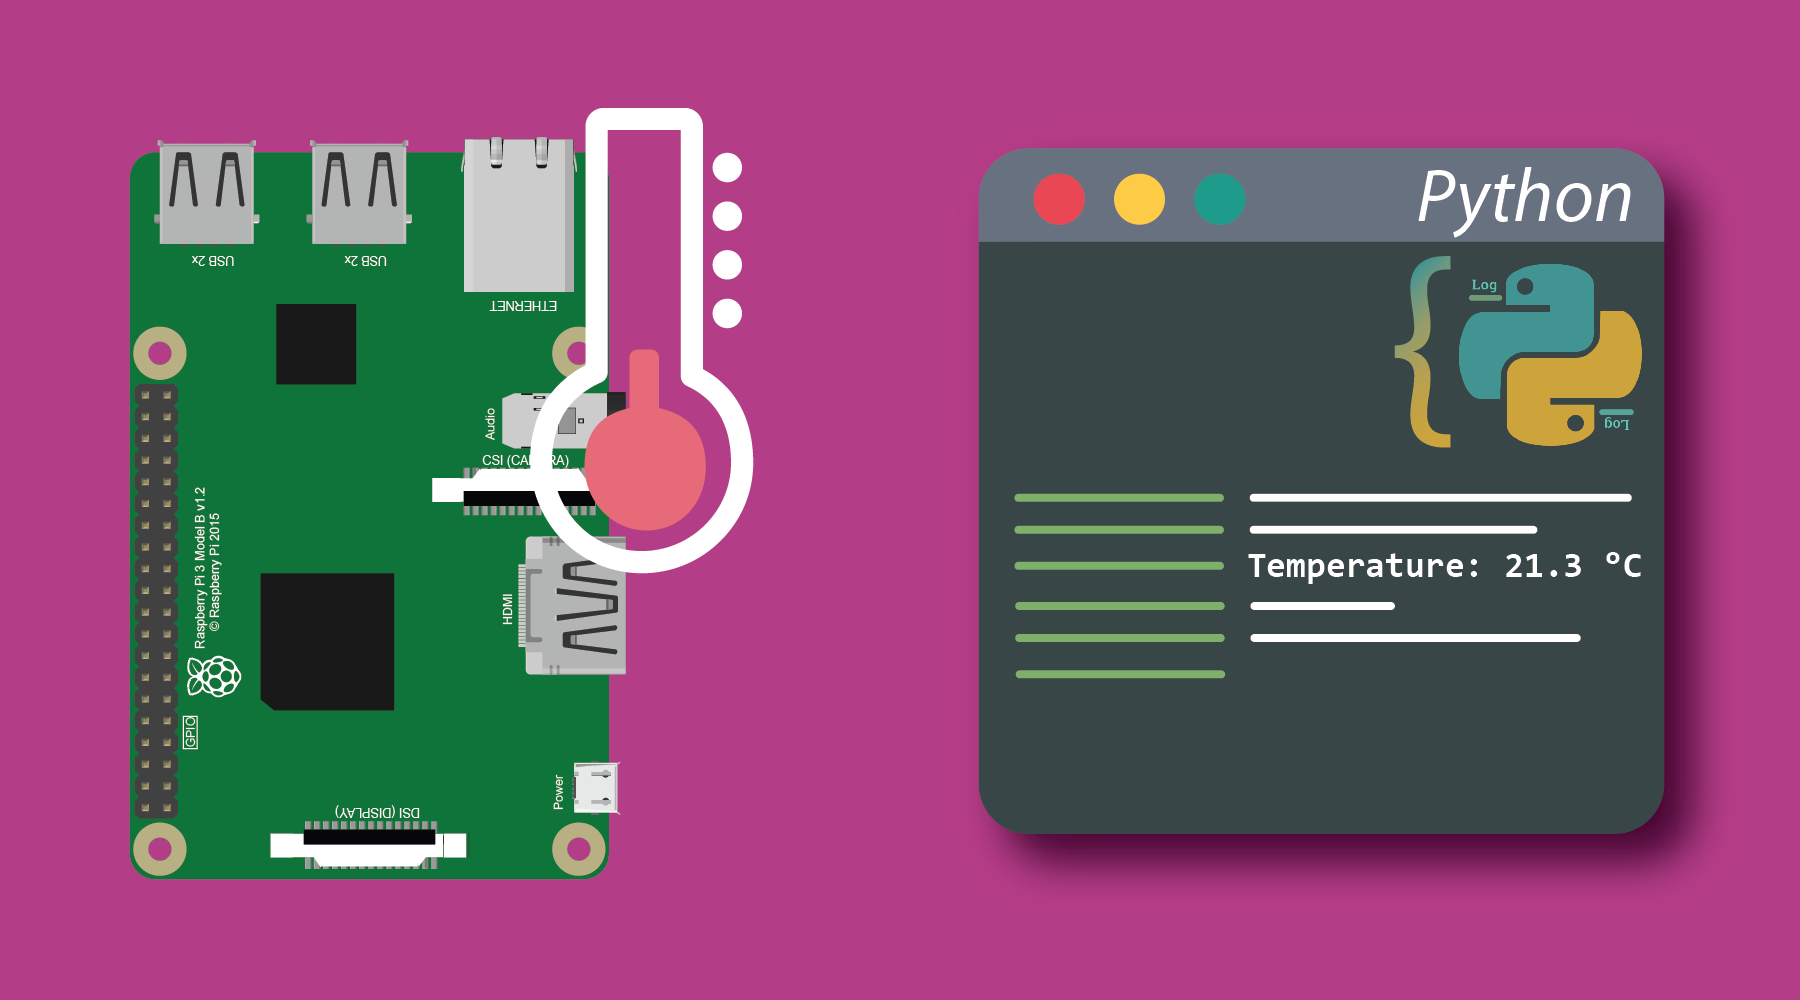
Le Raspberry Pi ouvre la porte à de nombreux projets de domotique. Une des applications les plus basiques en termes de domotique et la connaissance de la température. Dans ce tutoriel, nous allons voir comment lire la température ambiante grâce à la sonde DS18B20, sur Raspberry Pi.
La sonde DS18B20 est la plus utilisée sur Raspberry Pi, notamment pour sa simplicité d'utilisation. Nous verrons aussi que l'on peut lire plusieurs sondes en même temps, afin de faire des moyennes, etc.
Si le sujet vous intéresse, vous pourrez par la suite suivre ce tutoriel, qui montre comment réaliser des courbes de température en Python.
Prérequis
Pour réaliser ce tutoriel, il vous faudra :
Liens sponsorisés
Une fois tous ces éléments réunis, on peut passer directement au branchement !
Branchements de la sonde
La sonde DS18B20 se branche en suivant le schéma suivant. Pour réaliser des tests, utiliser une platine d'essai est particulièrement pratique. Par la suite, une fois que tout fonctionne, il est préférable de souder la résistance avec un fer à souder pour avoir quelque chose de plus propre.

Lecture de la température via la console
Une fois que la sonde est branchée correctement, on peut lire la température en utilisant la console du Raspberry Pi. Concrètement, la sonde DS18B20 transmet ses données par bus 1-Wire. Ce bus permet d'ailleurs de connecter facilement plusieurs sondes en parallèle (nous verrons cela plus loin dans le tutoriel). Lorsqu'une sonde est branchée, un dossier s'ajoute dans la route /sys/bus/w1/devices. Ce dossier contient un fichier contenant les informations délivrées par la sonde, dont la température.
Le but est donc de lire ce fichier. Voici les commandes Unix qui le permettent :
sudo modprobe w1-gpio
sudo modprobe w1-therm
cd /sys/bus/w1/devices/
ls
cd 28-xxxxxxxxxx
cat w1_slave
ℹ️ Il faut veuiller à remplacer les x par la valeur donnée par le ls
🔴Si c'est la première fois que vous entrez ces commandes, la sonde peut ne pas être détectée, rendez-vous dans l'encadré "sonde non détectée" ci dessous pour résoudre le problème
En exécutant ces commandes, on obtient un résultat semblable à l'image ci-dessous. Ici, on lit en fait une température de 6.875 °C (eh oui, c'est précis).

Attention
Sonde non detectée ?
Il peut arriver que le Raspberry ne détecte pas la sonde de température. Pour qu'il la détecte, il faut modifier deux fichiers système :
Ajouter les lignes suivantes au ficher qui se trouve dans /etc/modules :
w1-therm
w1-gpio pullup=1
Ajouter la ligne suivante au fichier qui se trouve dans /boot/config.txt :
dtoverlay=w1-gpio
Redémarrer le Raspberry Pi.
Information
Rappel
Pour modifier un fichier, on tape dans la console :
sudo nano /.../../...
Pour modifier le fichier qui se trouve dans /etc/modules, on tape donc :
sudo nano /etc/modules
Afficher la température clairement avec un script Python
C'est bien beau toutes ces commandes, mais on a vu mieux niveau praticité ! C'est pour cette raison que l'on va utiliser un script Python qui met en forme tout ça, afin d'avoir la température en une simple commande.

Ce programme s'occupera de lire le fichier w1_slave, d'en tirer la température, pour finalement l'afficher sur la sortie standard.
Enregistrer les températures dans un fichier texte
Nous savons maintenant obtenir la température de la sonde à l'aide du script Python. On peut maintenant se servir de cela dans bon nombre d'applications. Par exemple, enregistrer cette température dans un fichier externe.
Pour ce faire, on peut ajouter une ligne dans un fichier à chaque prise de température avec la date, suivi de la température.
Pour changer l'intervalle de lecture, modifier le time.sleep() qui est en seconde. Ici, on relève la température toutes les minutes.
Afficher la température de plusieurs sondes
Il peut être intéressant de lire la température de plusieurs sondes en simultané. Pour se faire, rien de bien compliqué. Il faut brancher les sondes en parallèle comme sur le schéma suivant.

Avec cette nouvelle sonde, si on re-liste les fichiers contenus dans /sys/bus/w1/devices, on trouve donc deux fichiers, un pour chaque sonde.

Il suffit ensuite de modifier (un tout petit peu) les programmes donnés précedemment.
Ce programme prend en compte l'ajout d'autres sondes, sans même avoir à y toucher. Avec deux sondes, on obtient quelque chose comme ceci :

Afficher la moyenne de deux sondes de température
Maintenant que l'on sait lire plusieurs sondes de température simultanément, on peut faire une moyenne des deux valeurs obtenues. Il suffit d'ajouter les deux lignes suivantes au programme Python précédemment rédigé.
Voilà, le tutoriel est fini, on sait donc maintenant lire une ou plusieurs sondes de température DS18B20 sur Raspberry Pi.
Commentaires